Level Exporting
Overview
When your level is finished or ready to test, it can be exported using the Level Properties panel.
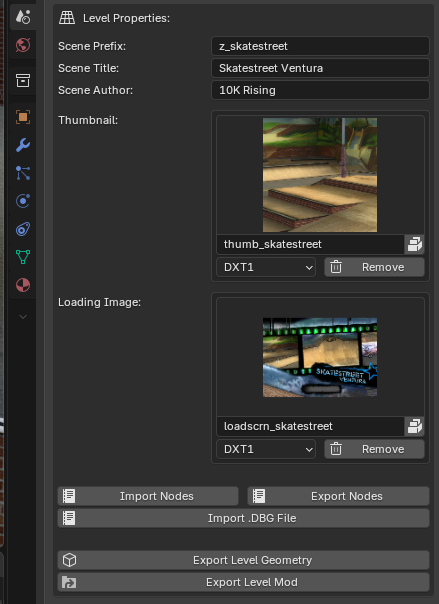
The Level Properties panel contains various properties about the current level:
Each level has an internal identifier known as its prefix. This should be a shorthand identifier that can uniquely identify the level.
For example:
Try to select a unique prefix that will not be shared by other modded levels.
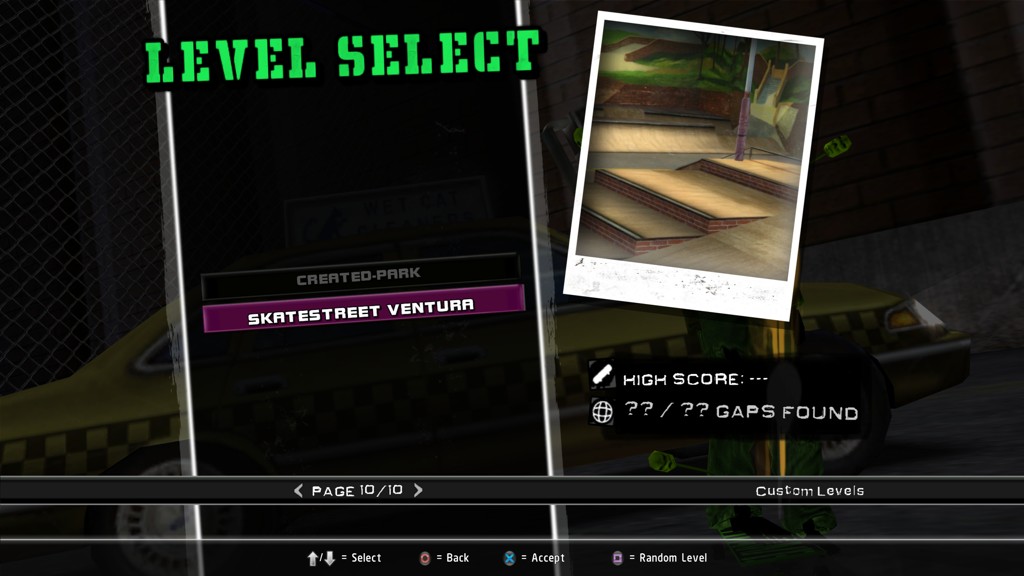
The Scene Title is the level's friendly name. This is shown when changing levels, in the level select, etc.
The Scene Author is your name! This declares the author of the level and is currently unused.
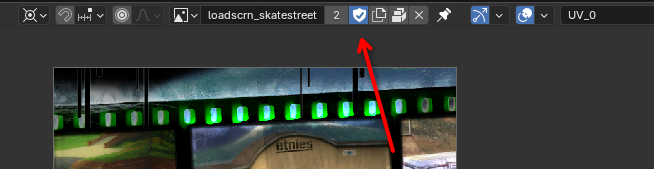
Declares the thumbnail image to use in the OpenSpy lobby and level select.
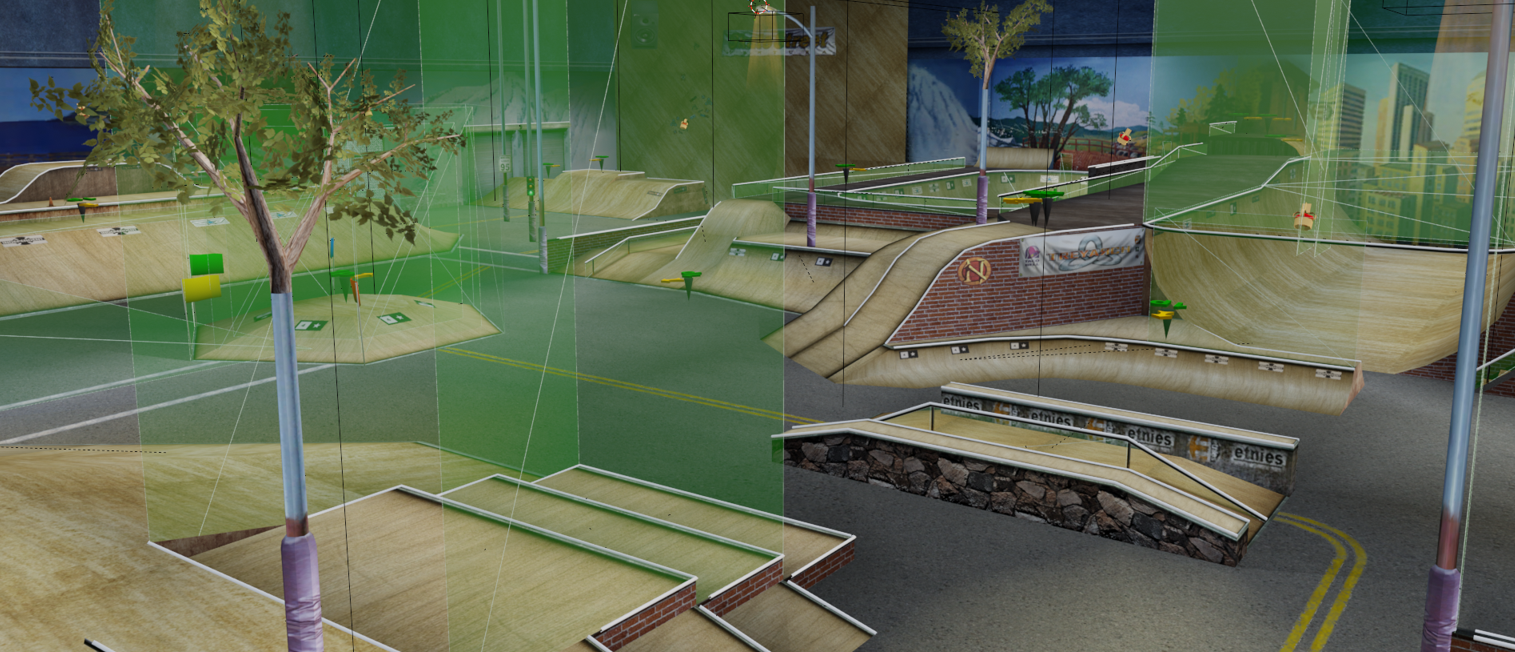
This image should offer a quick overview of your level, or focus on a notable landmark in the level. Choose something easily recognizable that gives the player information at a glance.
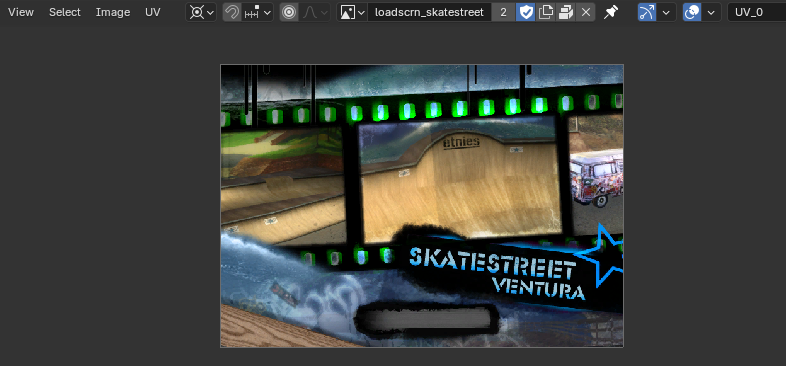
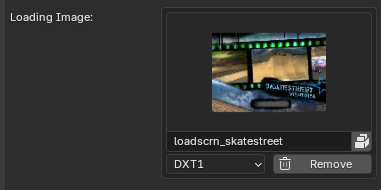
Each level has a loading image shown when loading into the level. Some users may see this longer than others, depending on their specs.
This should also give an overview of the level, and ideally contain the level's name in some fashion.
In the Scene sidebar, expand the
NXTools - Properties panel.Locate the
Level Properties box.The Level Properties panel contains various properties about the current level:
Scene Prefix
Each level has an internal identifier known as its prefix. This should be a shorthand identifier that can uniquely identify the level.
For example:
Hollywood -
z_hoNew Orleans -
z_noOil Rig -
z_oiVancouver -
z_vnTry to select a unique prefix that will not be shared by other modded levels.
Scene Title
The Scene Title is the level's friendly name. This is shown when changing levels, in the level select, etc.
Scene Author
The Scene Author is your name! This declares the author of the level and is currently unused.
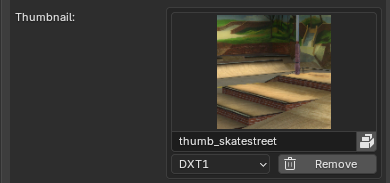
Thumbnail
Declares the thumbnail image to use in the OpenSpy lobby and level select.
This image should offer a quick overview of your level, or focus on a notable landmark in the level. Choose something easily recognizable that gives the player information at a glance.
Loading Image
Each level has a loading image shown when loading into the level. Some users may see this longer than others, depending on their specs.
This should also give an overview of the level, and ideally contain the level's name in some fashion.
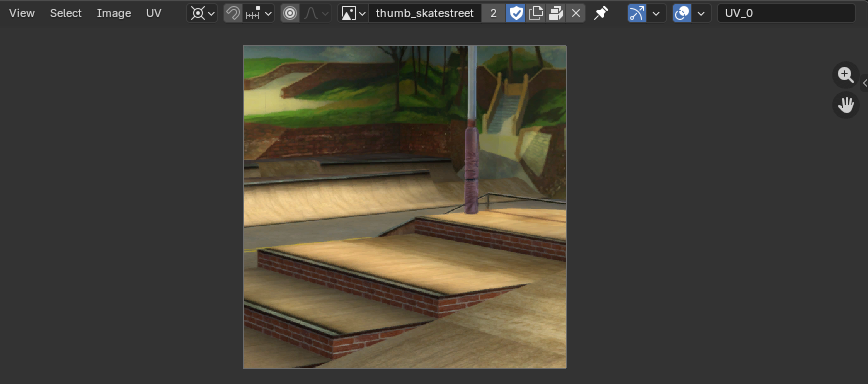
Selecting a Thumbnail
A level thumbnail can be added to your Blender scene in several ways. For example:


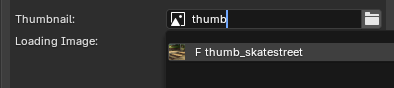
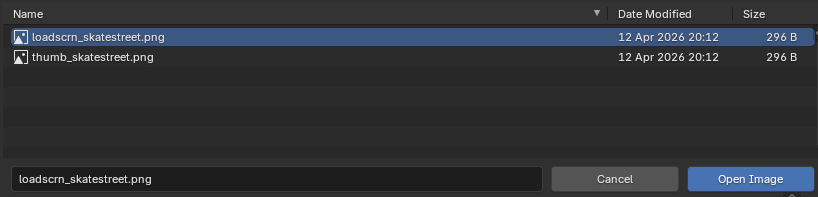
Click the
UV Editing tab at the top of the Blender window.Select
Image > Open to begin browsing for an external image.Locate your thumbnail image. For best results, this image should be a
.png file.Click the
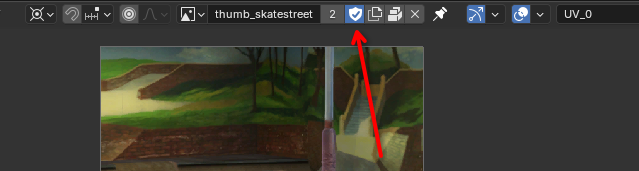
Open Image button.To mark the image as "used" and to keep it in the scene, ensure that the
Fake User button is checked.Assign the image in the
Level Properties panel of the Scene sidebar.Selecting a Loading Screen
A loading screen can be added to your Blender scene in several ways. For example:

Click the
UV Editing tab at the top of the Blender window.Select
Image > Open to begin browsing for an external image.Locate your loading screen image. For best results, this image should be a
.png file.Click the
Open Image button.To mark the image as "used" and to keep it in the scene, ensure that the
Fake User button is checked.Assign the image in the
Level Properties panel of the Scene sidebar.Exporting the Level
We can export the level into a playable format from the
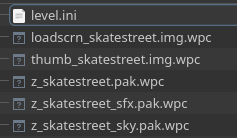
Custom maps for reTHAWed are stored in:
NXTools can export our level as a playable folder in this directory.

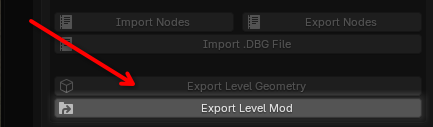
Level Properties box.Click the
Export Level Mod button.Custom maps for reTHAWed are stored in:
data/mod/UserMods/Maps/
NXTools can export our level as a playable folder in this directory.
Browse to the
Maps folder of your reTHAWed installation.Create a new folder that will hold our modded level content.
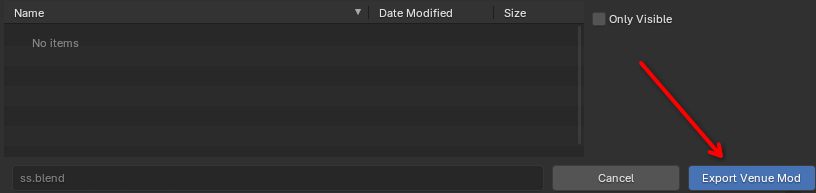
Enter the folder that we just created and select the
Export Venue Mod button.If desired, browse to the folder and ensure that the exported level files are present.
Start reTHAWed and ensure that your custom level is present!